

Step 1- Open up Paint Shop Pro and Go up to the left corner and click the little page under file. Make a new image with white background. I would say the dimensions that I used are okay for this.

Step 2- Go to your Materials at the right. Make the bottom box black by clicking on the color box.

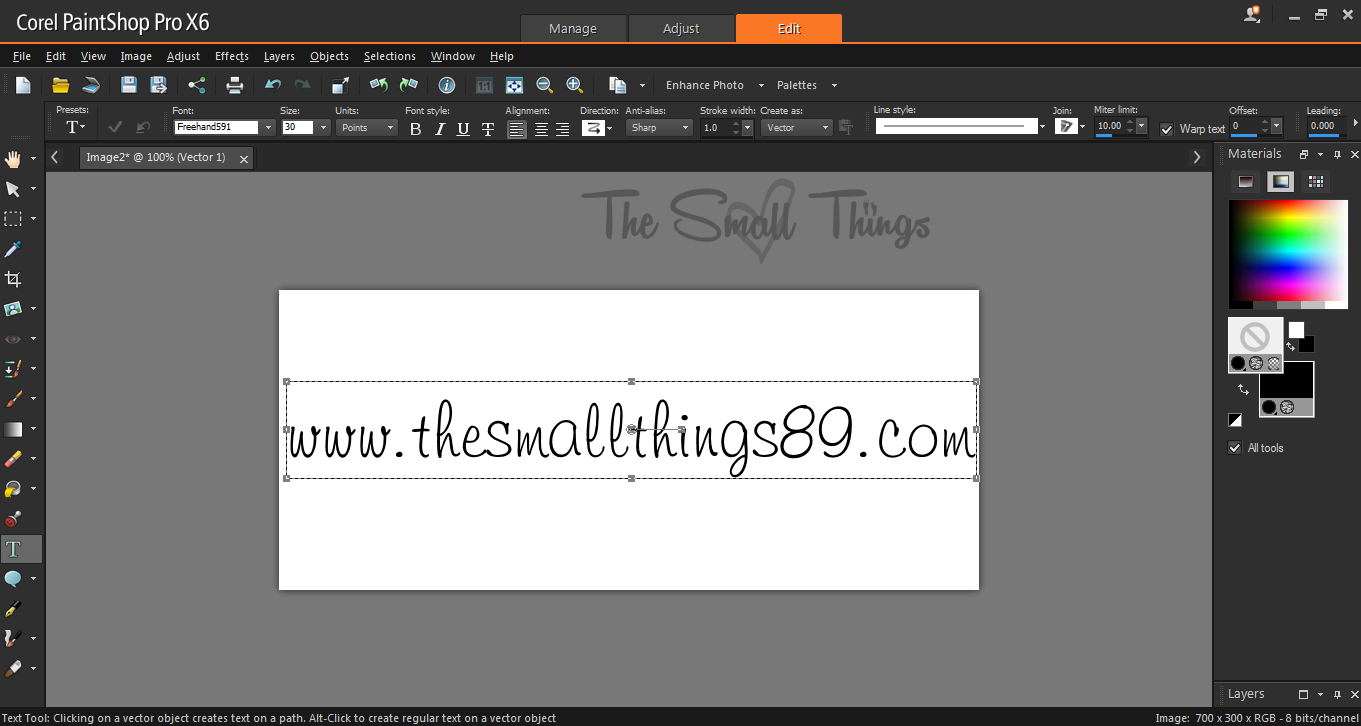
Step 3- Click the little "T" to pick a font of your choice and type out what you want on your watermark. Check out some of my favorite fonts here! I will use my blog name here to show you. Now you may have to play with the size but try to fill the box. It will look like it does below here in the picture.
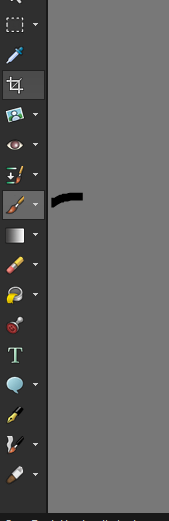
Step 4- Go to the left to the crop tool below the eye drop and crop completely around the text you just typed out. You should have this below!


Step 5- This is where the magic happens!! (*Giggle*) You need to go to the left click file, go down to export and then click custom brush. NAME your image what you want to name it.

Step 6- OPEN an image you want to put a watermark on. Go up to Layers and Raster Layer and click ok. (see below)

Step 7- Go back to materials and make that bottom box a color you want the watermark to be. *JUST like you did in step 2!!* (Yes I know we just made that black but trust me, this works!). Click that new raster layer on the right. Be sure it is above the image you want to have the watermark on.

Step 8- Go over to the left and click the paint brush and find that new image you made for your watermark by clicking the little box you see below at the top.

Now you add that anywhere you want on your image!! "Stamp" it. You can play with the size before you "stamp" it there as well! See?


You now have a watermark that you don't have to type out at all! In the future, you only have to do it from step 6 down. It will be easy to remember once you get used to the program! If you have any questions feel free to email me or ask them here too! Check out other tutorials via the tutorial button at the top of my blog!!
Happy Blogging! Like this post? Please repin the image at the very top of this post by hovering over it or RT the tweet below!
Tired of typing out your watermark over and over? Check out my watermark stamp #tutorial! http://t.co/6g9mtClXYT It is so easy! #Blogging
— Bre-The Small Things (@bre631989) June 1, 2014
*Disclaimer: Unauthorized use and/or
duplication of this material without express and written permission from
this blog’s author/ owner is strictly prohibited.* 


Can you make me one?
ReplyDelete